Beginning

The scale of software developments is getting bigger and bigger these days and it is very important to analyze and understand the overview as well as the detail items. How will the newly added function affect the current architecture? What is the most effective way to implement without any contradiction? This part looks complicated but does it include the necessary complication? Or it is supposed to be simple but somehow becoming unnecessarily complicated? And so on… There are so many things that the people, who are involved in designing and implementing the software, have to care.

My desktop

Software development is interesting because if you do not look into the details together with the overall, the architecture will gradually collapse. However, the architecture will also collapse eventually if you only focus on the details because that will lead to an off-base implementation. It is very important to take a good balance of looking at the overview together with the details when you are working on a large scale software development. If you cannot see the woods for the trees, large scale software development will not be formulated.

Trees

There is software with hundreds and thousands of lines, and it can be millions and trillions of lines these days, which is a size that we could not imagine a while ago. The idyllic era of handwriting the overview designs, implementation analysis, and class diagrams are over. It is beyond that scale.

Rapid Rabbit

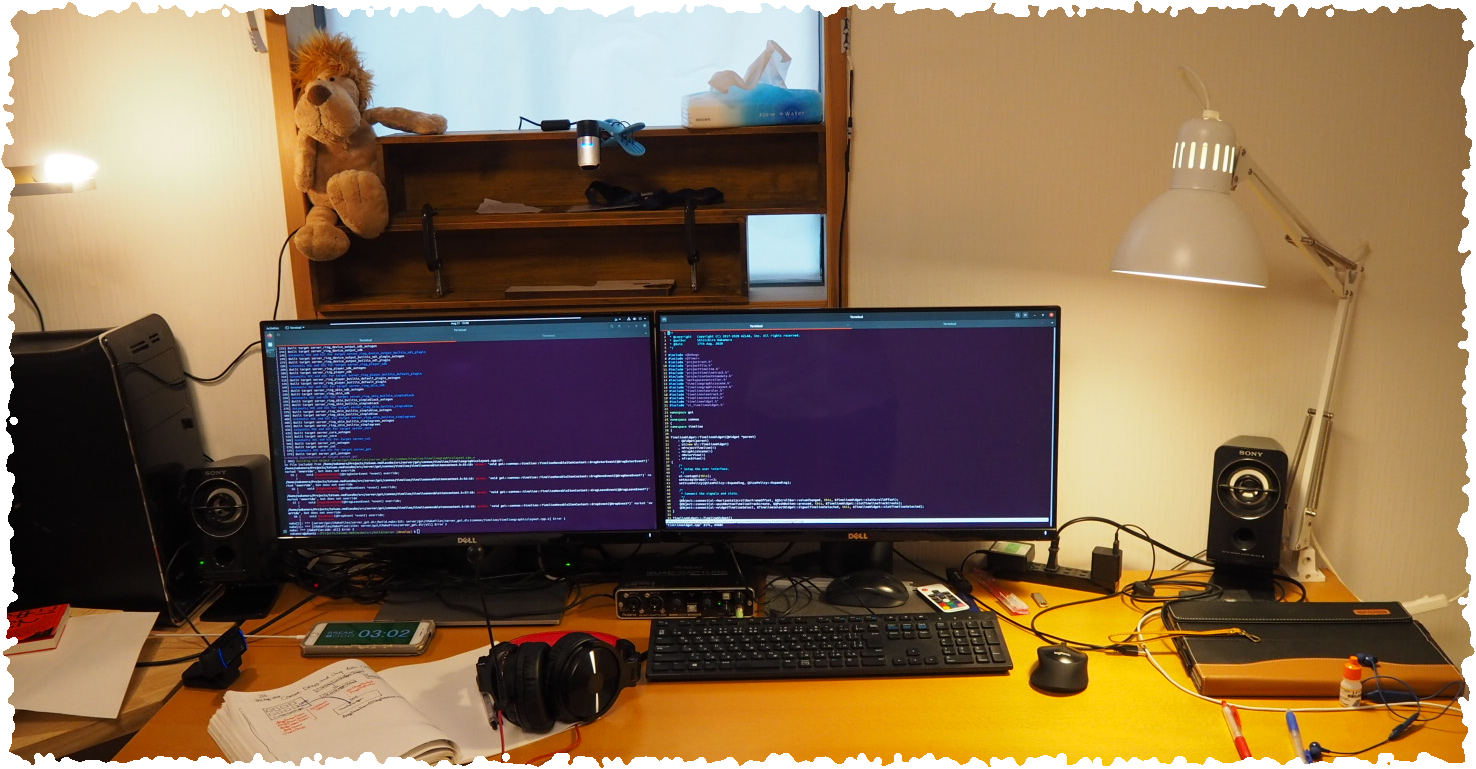
One Sunday afternoon, I was searching for a development tool and found this software, “Enterprise Architect”. This is a so-called modeling tool and it is a tool that can model any concept which is used in the world of software development.

Enterprise Architect (You can jump to the web page of Sparx System, by clicking the image above.)

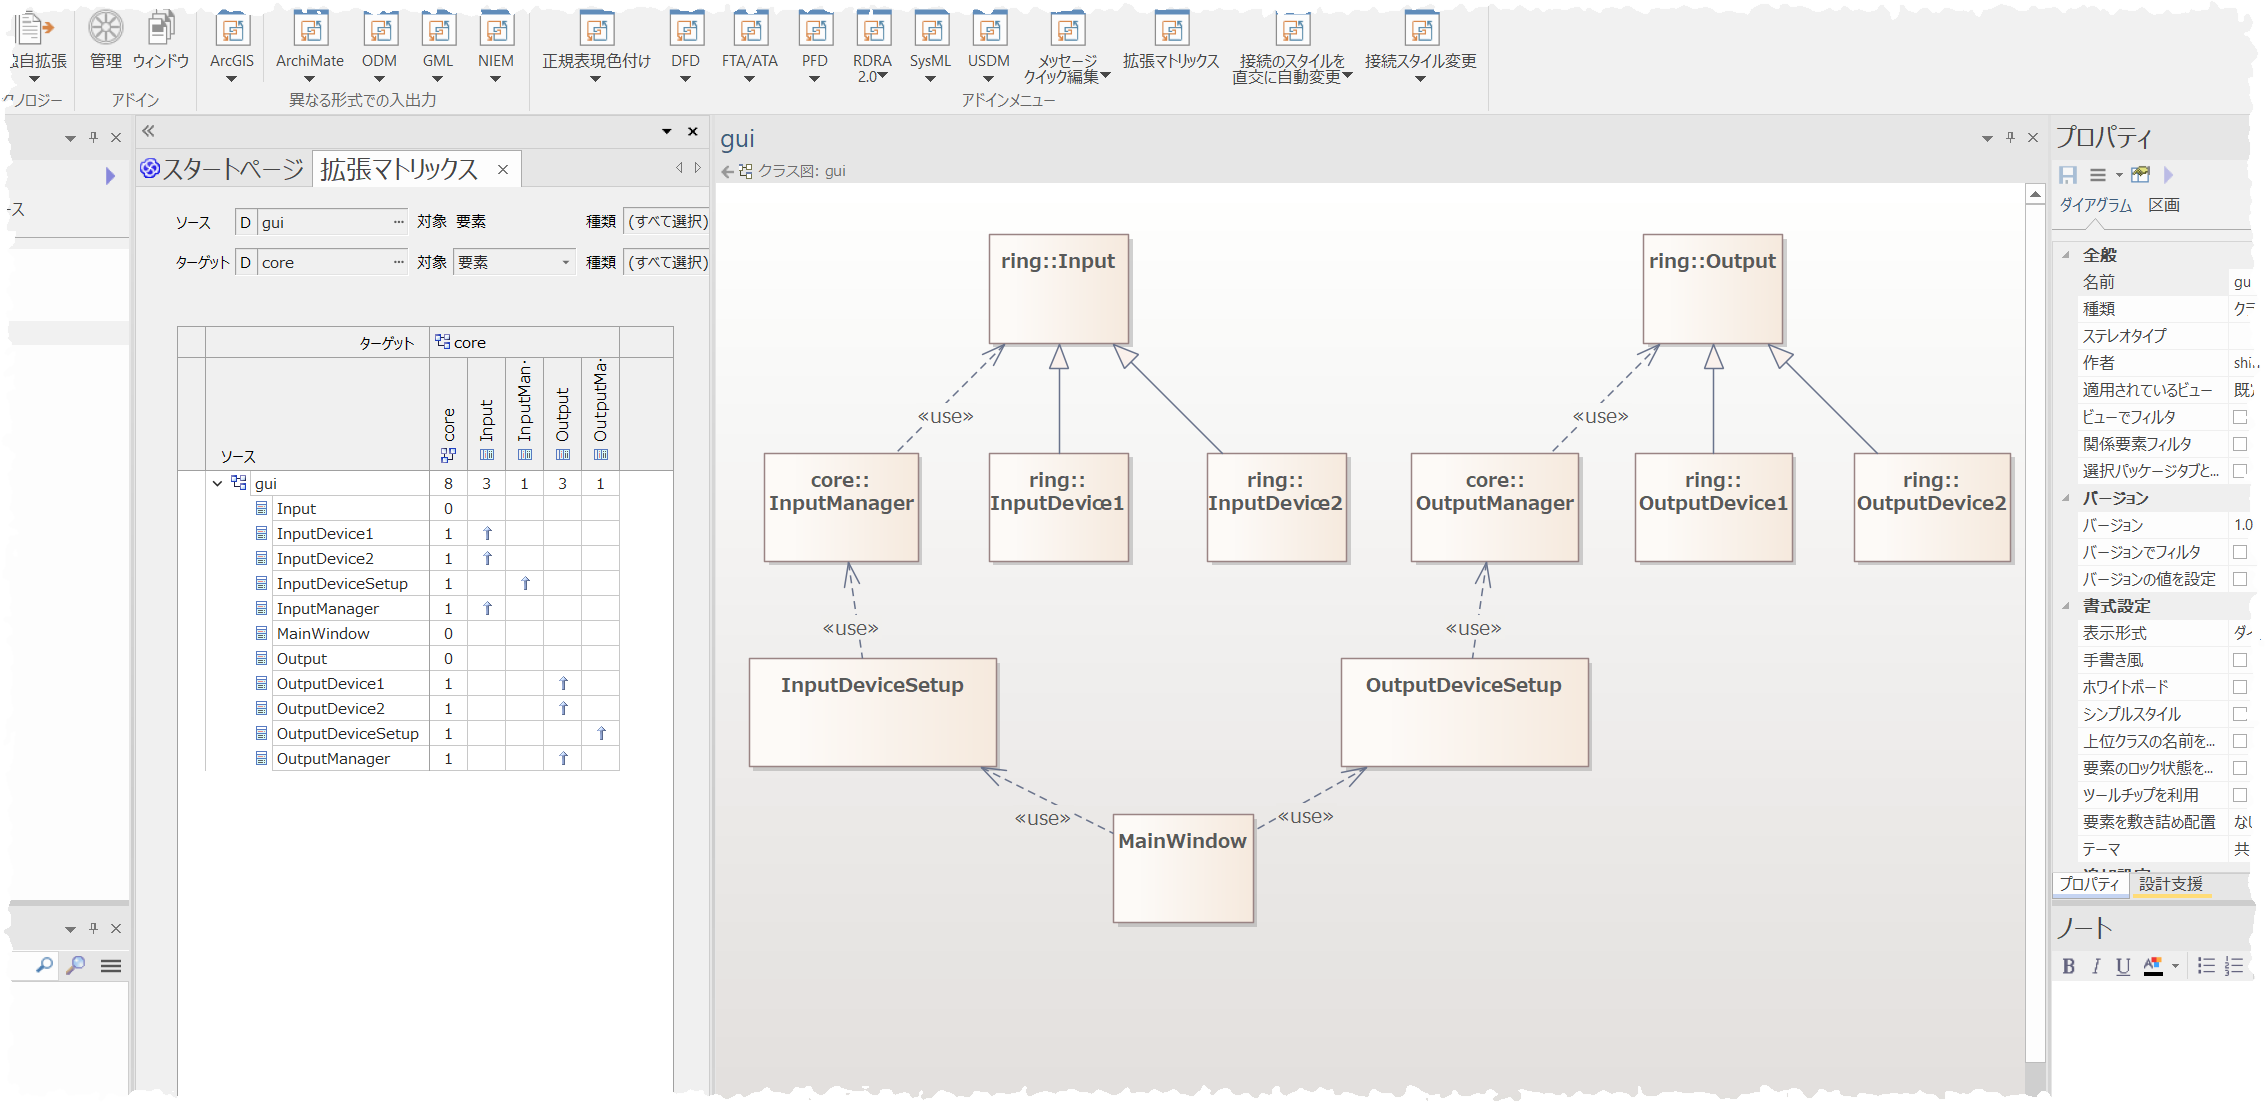
Especially the class diagram creating function is amazing. I have tried this code reading function with the example code, which was like 30,000 lines written in C++ that I had with me, and it generated a class diagram with no issues. Previously, I was disappointed by many software that has these functions, so this result was impressive.

Enterprise Architect reverse engineering

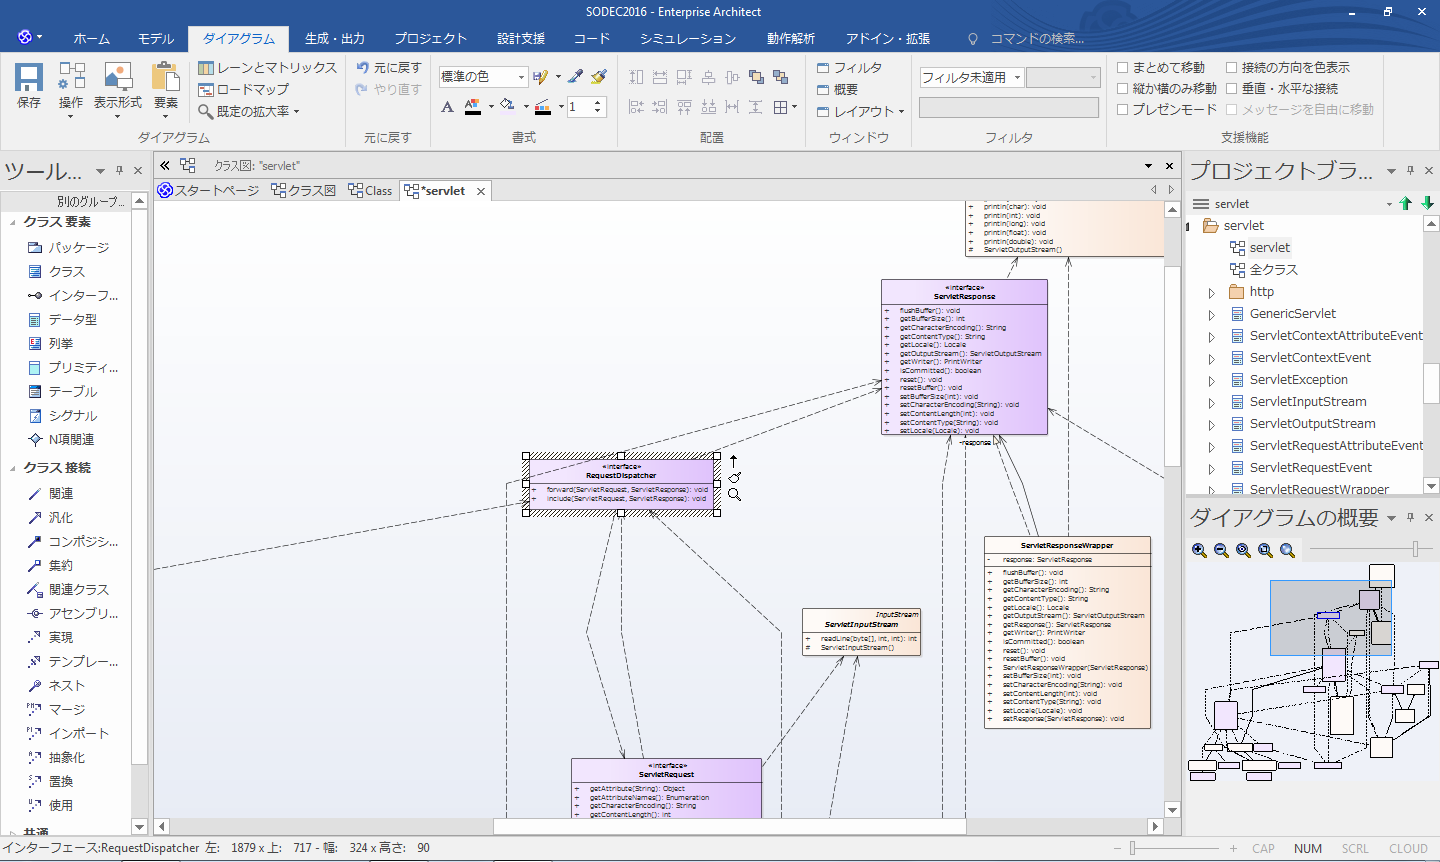
Comparing the class diagram and my design, I could confirm that my implementation was constructed as I designed from the output class diagram. I thought, “Oh yes…This is constructed as I wanted to design. How beautiful” and be confident.

Enterprise Architect class and matrix views

This trial reminded me that “software development suppose to be something simply intellectual and fun”. In addition to that, this Enterprise Architect has a plugin function and can expand the features by myself. Therefore, I decided to use my day off to make an add-in for Enterprise Architect and enjoy making the world of large scale software development more creative. Maybe I was influenced by the people who had created this wonderful tool.

Video

How to add and run the rules

This is a video showing the example of how this add-in works.


Coloring more complexer class diagrams

This is a video showing the example of how to use this add-in when analyzing the hierarchical software structure.

Features Introduction

Regular expression coloring add-in, is an add-in for Enterprise Architect.

button ;-)

Enterprise Architect has its strength in the feature of reverse engineering from codes. You can easily create a class diagram from the source code, which you can find on-site and those class relations are appropriate.

However, if you think of creating a one class diagram to understand an enormous structure, the outlook will be something that humans cannot understand. The relation strings are tangling and uncountable boxes that look all alike… This suppose to be an information which you output to understand what it is, so we need to do something for easier understanding.

Regular expression coloring add-in, is a perfect tool to improve this situation. You will be able to classify by adding colors regarding the package names and element names as the starting point. This means you will be able to have a wider view and see the overviews to understand which parts are spread to where.

evaluation results ;-)

First things first, you will have to create a “rule” in this add-in. You can set the package name and the element name in the regular expression. Then, set the color for letters and backgrounds for each element.

edit rules ;-)

These “rules” can be added as much as you want, and process multiple rules in one time. Previously, it was difficult to construct an intuitive process while you make the class diagram and understand the system overall structure. However, with this regular expression coloring add-in, you can easily understand the item distribution since the overall structure is colored and visible.

rules in the menu ;-)

It is useful when you would like to understand what element in which package is taking how many percentages of the overall structure. You might be able to find out the tips for the architecture improvements through the colored results.

see the results ;-)

We wish that this add-in can support your large scale software development.

Methods

How to add rules

First of all, set the so-called “rule”, which is the color definition corresponding to the package name and the element name. Select “Add rules” from the add-in menu.

Step 001

“Edit rule” dialog will be displayed.

Step 002

Setting items Functions
rule name Set the rule name which will be displayed in the add-in menu.
package name Set the searching target package name with regular expression. If you keep this part bank, the searching target will be all packages.
element name Set the searching target element name with regular expression. If you keep this part bank, the searching target will be all packages.
letter color Set the letter color. If you uncheck the checkbox, the frame width will not be changed.
background color Set the element background color. If you uncheck the checkbox, the frame width will not be changed.
frame color The outline color of each element can be set. If you uncheck the checkbox, the frame width will not be changed.
frame width The outline width of each element can be changed from 1~5 pixels. If you uncheck the checkbox, the frame width will not be changed.
set Apply the edit result.
cancel Cancel the edit result.

When adding multiple rules, repeat the methods above.

Run

Once you add the rules, open the process target diagram, and select “Run” from the add-in menu. The process will differ depending on the selecting status of the objects.

Step 003

  • Object is selected within the diagram: The selected object will be the searching target.
  • Object is not selected within the diagram: All the objects will be the searching target.

Once the process is done, the number of applied rules will be displayed.

Step 004

Please check the result by confirming the diagram element.

Step 005

Run directly within diagram

It is also possible to run within the diagram. Right-click the mouse within the diagram and select “Regular expression coloring” from “Specialize” tab. Once you select “Run”, there will be a confirmation dialog displayed before running. You will be able to get the result soon after running the program. This can help you to shortcut from going through the ribbon menu.

Diagram Menu

Edit existing rules

To edit the parameter of existing rules, put the cursor on the rules to display the sub-menu, and select “Edit rules”.

Step 006

Delete existing rules

To delete the existing rules, put the cursor on the rules to display the sub-menu, and select “Delete rules”.

Step 007

The delete confirmation dialog will be shown. Please confirm by selecting “Yes”.

Step 008

Save rules automatically

The new rules will be saved automatically. It will be saved in the “autosave.rules” file, which is placed under “C:\Users\<User login name>\Documents\RexColorToolAddin”.

Export rules

Place the cursor on ”manage the rules” in the add-in. Then you will see the sub-menu. Select “Export rules” from that sub-menu.

Step 009

The diagram for exporting will be displayed. Input the file name. The extension is “.rules”.

Step 010

Once the export is completed, the number of exported rules will be displayed.

Import rules

Place the cursor on ”manage the rules” in the add-in. Then you will see the sub-menu. Select “Import rules” from that sub-menu.

Step 011

The diagram for importing will be displayed. Select the exported rule files. The extension is “.rules”.

Step 012

Once the import is completed, the number of imported rules will be displayed.

Delete the rule completely

When you create a lot of rules and you would like to move on to the next action, you may want to delete all the existing rules. In this case, use “Delete rules”.

Step 013

Click “Yes” to confirm when confirmation diagram appears.

Step 014

Other features
Regular Expression Tester

From the Version 1.2.0.0, a new regular expression testing tool has been added. With this test tool, you can easily check if your regular expression is what you intended. Enter a test string and a regular expression, and the result will be shown on the right side of the dialog.

Tester Matched

Tester Unmatched

Language selection

New as of Version 1.2.0.0 is a language selector. This language selection applies to the user interface of this add-in.

Language menu

Restart Enterprise Architect to apply the selected language.

Language menu

Download

Download

This package contains the add-in and sample data.

Add-in
Release date Version Link Release notes
3rd Oct. 2020 1.2.0.0
27th Sep. 2020 1.1.0.0
20th Sep. 2020 1.0.0.0  First Edition

Notes
  • We will not take any responsibilities on the damages with the result when using this add-in or the sample data.
  • This add-in is not related to Sparx Systems Japan co,. Therefore, please do not contact them for the questions regarding this add-in.

Installation

How to install
  1. Download the ZIP file from each add-in item and extract that file.
  2. Make sure that EA is not activated.
  3. Select the “EAAddinSetupEn.bat” file, that is in the extracted file. Right-click and select “Click run as administrator”.

Install step 1

In Windows 10, the following warning screen appears.

Windows protection 1

Press the Run anyway button to continue the installation process.

Windows protection 2

  1. If you see the message “add-in registration is completed”, the process is done.
  2. Activate EA and confirm if the add-in is working.
Notes

Below are the notes regarding to activate the batch file “EAAddinSetup.bat”.

  • Select “EAAddinSetup.bat”. Right-click and select “Click run as administrator”.
  • Please make sure not to have any signs, such as ‘&’ ‘(’ ‘^’ in the folder name which includes “EAAddinSetup.bat” or the folders in the path.
  • To activate “EAAddinSetup.bat” as an administrator, you will need to have a previous activation record with Enterprise Architect. (This is because you will be creating the administration data during the first time activation)
  • “.NET Framework” should be installed if you wish to register the add-in, created on “.NET Framework”. The compatible version for the “.NET Framework” will be depending on the add-in installation settings.

How to uninstall
  1. Select “Uninstall.bat” and right-click the file. Select ”Click run as administrator”.

uninstall


Acknowledgement

This add-in is following the distribution conditions of the “add-in setup tool”, provided from Sparx Systems Japan. Thank you for providing us this amazing tool.

Moreover, although we did care in detail for the installation guide and the notes, you will also be able to check the latest information on the Sparx Systems Japan web page. Add-in setup tool information link

Frequently Asked Questions

About this add-in
Can I use this for something else which is not class diagram?
  • Yes, you can use for something else that is not class diagram.
Can I use this add-in with commercial use?
  • Sure, please use under the responsibility of each User.
Can this add-in be used with the English version of Enterprise Architect?
  • Yes, from Version 1.2.0.0, the user interface can be switched between English and Japanese. The first time the add-in is launched, the user interface is displayed in English.
  • If you want to display the user interface language of the add-in in Japanese, please restart Enterprise Architect after selecting Japanese from Language menu.
Why I cannot UNDO
  • In the Version 1.0.0.0, you could not UNDO because the model value was changed directly.
  • From the Version 1.1.0.0, the behavior is fixed to change the diagram items. Therefore, UNDO can be done within the territory of diagram.

Other Questions
Sending feedbacks and opinions
  • Feel free to contact us from the contact information!
Would like to support

Development Team

Software Design and Implementation

Person in charge: Shinichiro Nakamura

Shinichiro Nakamura

Rich in experience as a professional

Working on electrical design, firmware development, software development, and project management at professional video manufacture since 2002. Especially good at realtime system design using realtime OS, software architecture design analysis, and cross-platform software development. Working widely from OS less Microcontroller environment, to software that works on QNX, FreeRTOS, Windows、Linux、MacOS.


Document Creation

Person in charge: Rapid Rabbit

Rapid Rabbit

Rich in experience of various tasks

Helping and supporting time to time. Expressing opinions straight no matter how harsh that can be. haha Well… Can I add my wishlist from Amazon here…?

Rapid Rabbit’s Wishlist from Amazon

Nakamura: What…?(LOL)